
Updated January 7, 2019
First, I’m glad you’re here. Welcome to Life In LoFi. Sadly, this article is no longer valid. Apple, in all its wisdom, changed how iOS apps are backed up and updated. They are no longer backed up on your computer and it’s impossible to download an older version of an app (or an app you purchased but is no longer available for download) from the App Store. Recent iTunes and iOS updates have removed all tools and hackzies listed here that enabled users to roll back to a previous version.
Unfortunately, there is now no way to reinstall older versions of apps to your iPhone or iPad. It sucks, and I’m feelin’ the pain right there with ya. — M
Four ways to downgrade to a previous version of an iPhone app
It doesn’t happen often, but there may be times when you really want to downgrade to the previous version of an iOS app or even older. For example, you just downloaded the latest update of your favorite app to your iPhone, but the new version crashes hard and often and the old version is no longer available in the App Store. Maybe it’s a really buggy version or maybe the new version doesn’t like your spiffy brand new iPhone.
Are you out of luck until the fix is released? Maybe not.
Here are four ways that you can try to downgrade back to a previous version of an app, including a very detailed way to access a back door to older apps in the App Store. These methods are not foolproof, but they’ll give you a chance at restoring a version of the app that will work on your device.
1. Use Time Machine or another backup to restore previous versions of an app
You are backing your computer up, right? If so, the easiest way to reinstall a previous version of an iOS app is to restore it from Time machine or other backup.
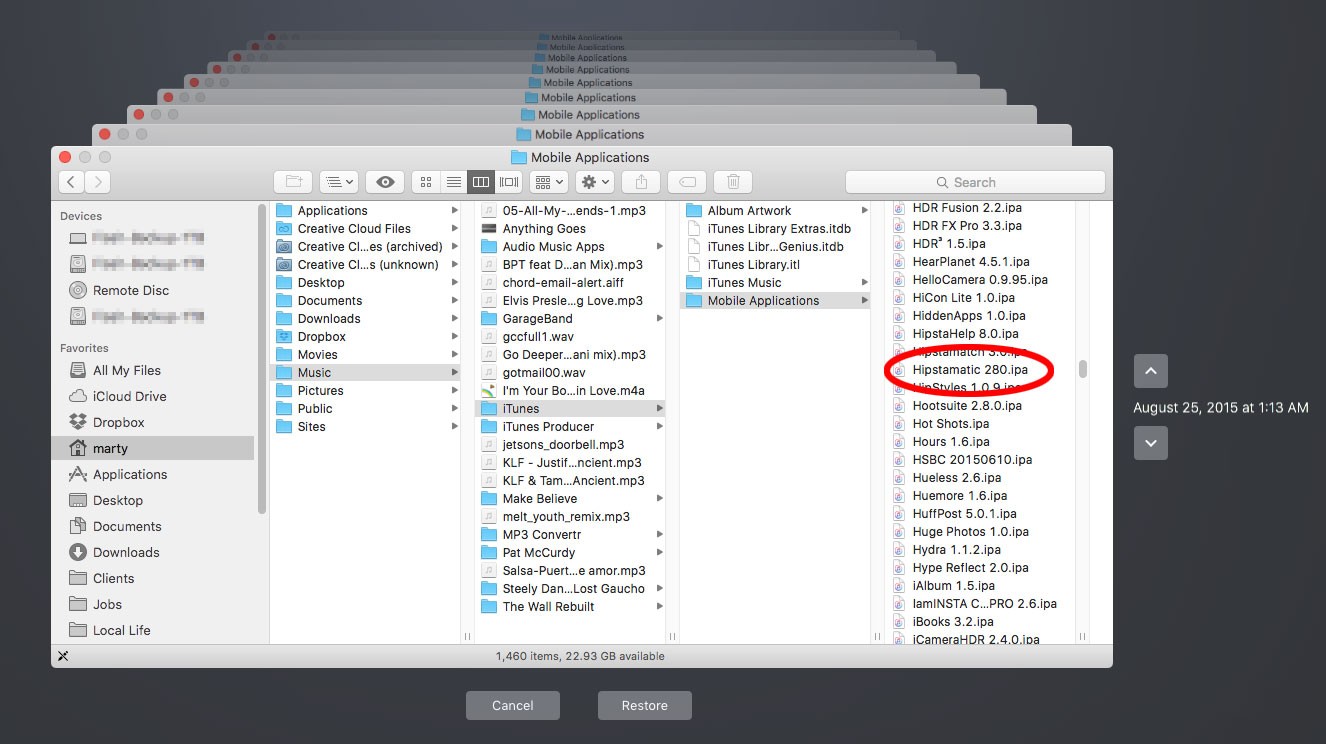
- In Time Machine for Mac OS, navigate back to the date of the last good version of the app you want to restore.
- In Time machine, navigate to [User] > Music > iTunes > Mobile Applications. Select and restore the app.
- Drag and drop the older version from your backup into your iTunes My Apps section. “Replace” to revert back to the older (working) version.
2. Restore the app on your iPhone using iTunes
This method works if you regularly back up your iPhone or iPad to your computer using iTunes, but it only works if you haven’t updated your iTunes copy of the app. If your iTunes library has also been updated, you’ll need to try another method or wait until the developer releases a fix.
- If you downloaded a broken app update to your iPhone, do not update apps in iTunes yet. You’ll be using the old copy of the app that’s still stored in your iTunes library.
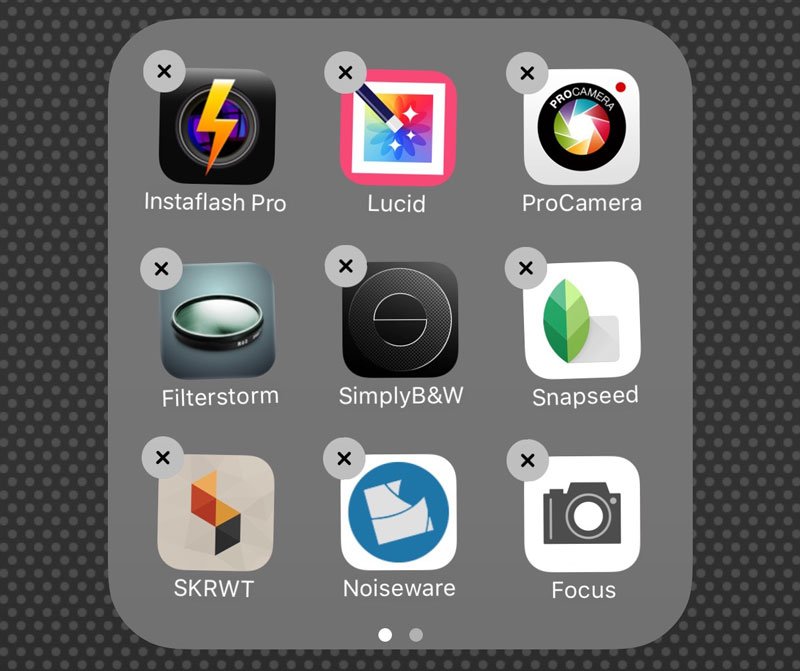
- Delete the app on your iPhone by pressing the app’s icon for several seconds. The apps will start to jiggle and a small X will appear in the upper lefthand corner.
- Press the X of the app you want to delete.
- Press the home button after the app is gone from the screen to stop the jiggling and get out of delete mode.
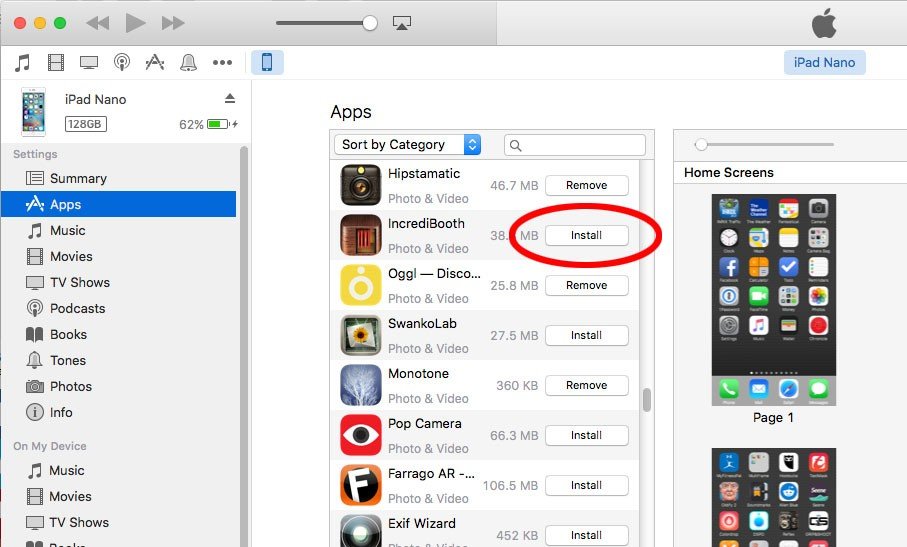
- Then, connect your iPhone to your computer. Open iTunes and select your device. Do not sync at this time.
- Click the Applications tab. Select “Apps” in the iTunes sidebar.
- Find the app you want reinstall in iTunes’ Apps list. Select the option to “Install” and sync your device. The version you have backed up in iTunes will copy back to your iPhone. Hopefully, it’ll be the older version.
If an app is broken, it’s probably not a good idea to “Update All” on your computer or your iPhone until you know it’s been fixed. You can update all of your other apps one at a time.
WARNING: Many photo apps such as Camera+, VSCO, FiLMiC Pro, Pixelmator and others have lightboxes — their own private photo library that require you to then take additional steps to save images to your iPhone’s camera roll. These lightboxes contain images that are saved nowhere else on your iPhone or iPad — camera roll, photo library, PhotoStream… nowhere. Once these apps are deleted, the images contained in their lightboxes are deleted as well and cannot otherwise be easily restored.
Make sure to back up your important images often to your camera roll. While a lightbox workflow is convenient, storing photos on your iPhone’s camera roll is a safer place for them.
3. Look for the app in the Trash
If you have a Mac, just look in the Trash. iTunes throws all previous versions in there after it updates.
- Retrieve the app from trash.
- In iTunes, select the Apps button. Delete the new version from My Apps in iTunes.
- Drag & drop the previous version into your My Apps section of iTunes.
- Select the option to “Install” and sync your device and you’re golden.
Previous versions of iOS would also move old copies of updated apps to the trash when syncing. This no longer happens when updating apps on your iPhone in iOS 9. The newer versions on your device will now overwrite the older copy in your iTunes library. Previous versions of apps are still moved to the Trash when updating them in iTunes on your computer.
4. Use Charles or Fiddler apps to download older versions of iOS apps from the App Store.
If you really need to go back to a previous version of an app and the previous two methods didn’t work for you, there are a couple of third-party apps for Mac OS and Windows which will let you redownload any previous version of an iOS app.
You’ll first need to download, install and launch Charles proxy app for Mac OS or Fiddler for Windows.
Over on iDownloadBlog, Jeff Benjamin details the process of restoring old iOS apps on Mac OS and includes a video. Over on Medium, Kenny Yin does the same for Windows machines.
On either platform, the process is long and detailed. I haven’t tried this myself, but it looks pretty straightforward. Be sure to create a good backup of your iPhone or iPad before your start in case you have to restore your device if things go south. Also, see my warning above about lightboxes before you proceed.
Your mileage may vary for any or all of these methods. Understand before you attempt any of these that there is a chance that you will lose some data, especially if you are trying to downgrade an app that stores its data, photos, etc. only in its own exclusive directory on your device. We’re not responsible if that happens.
Good luck! Let us know how you did in the comments below.
=M=
This is a retooled update of our classic article, originally posted on 2/21/2010.
Sources and big thanks to Pat Timney, Cult of Mac, Jeff Benjamin and iDownloadblog, Kenny Yin