Here are some random additional thoughts I had for my earlier post on printing and enlarging iPhone photos. They didn’t seem to fit smoothly in context in the earlier post, so here they all get their own bullet points in a random musing.
 If you print at home, there’s a big difference in papers. Find the paper and finish that’s right for you. Look for a photo paper that’s archive quality and low in acid content. Low acid papers will hold the image longer and are less likely to fade or fall apart. One of my favorites is EPSON Ultra Premium Photo Paper Luster. It’s not a glossy, but has more finish than a matte paper. It holds ink really well and I’ve always gotten great color from this paper. It’s pretty easy to find. For gallery work, I prefer EPSON Exhibition Fiber photo paper.
- Don’t be afraid to pay for good photo paper. The cheap stuff never looks right and the few dollars you save isn’t worth the frustration of trying to jack with your color management to get your image colors right. Cheap photo paper isn’t worth screwing up the presentation of your photography.
- Use a heavy stock — at least 50 lb. weight. Anything less feels flimsy and cheap and doesn’t feel like a photograph in your hands. The EPSON Ultra Premium Luster I like is 67 lb. paper and has a good feel to it.
- Hipstamatic prints enlarge nicely. I’ve seen them go as large as 15″ square and they still look good. Hipstamtic filters apply a noise and a texture to the photo that lends itself to big enlargements. That said, for me, I think the visual sweet spot for Hipsta prints is about 7″ – 8″ square.
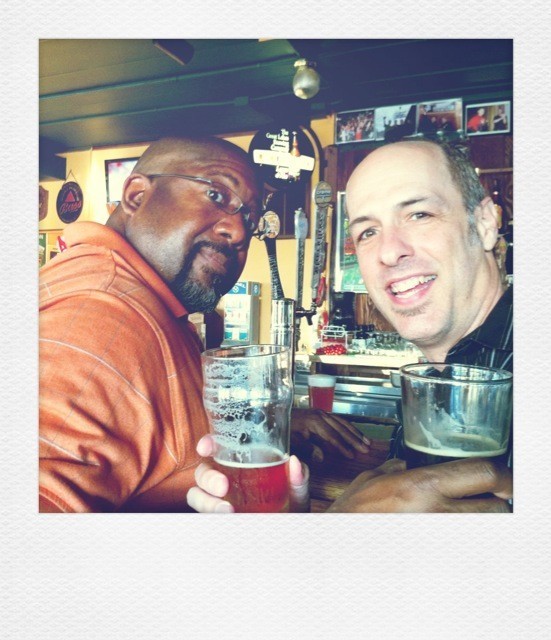
- While you can enlarge fake Polaroids or fauxlaroids to be really big, especially with an iPhone 4, to me they don’t look right visually if they’re much larger than the Polaroid photographs that they recreate. The classic SX-70/Time Zero instant prints measure 3.5″ x 4.2″. To me, fauxlaroids don’t look right when they’re printed much bigger than that.
.
=M=
~~~~


