
Tag: digital photography
Latest

We are moving to new hosting today. Life In LoFi may be acting strangely for a couple of days.
Hi, there. It’s been a long time. Life in Lofi is moving to a new web host today. In fact, if you’re reading this post, the move has been successful.
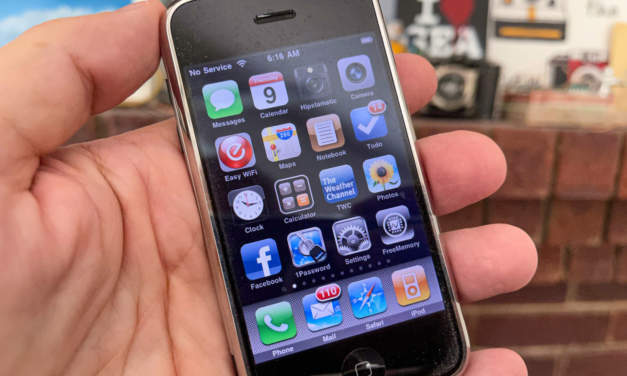
The original iPhone first went on sale 14 years ago today
On June 29, 2007, the original iPhone went on sale in the US. I think few of us could have accurately predicted just how much of a defining moment in our culture this would eventually become. We knew this would be a big thing. Few of us saw how much the iPhone would change the world.

Hipstamatic’s new Montmartre HipstaPak is a dreamy retro throwback
Hipstamatic’s Montmartre HipstaPak re-creates the washed out, pastel colors of a decades old snapshot. It’s well worth a dollar.
PIXELS, one of the first iPhoneography sites, is back online
One of the original iPhoneography websites, Pixels at an Exhibition is live after a two year hiatus. With its huge collection of iPhone photography, it’s one of the most extensive histories of the electronic art. Having Pixels back in any form is a big deal.
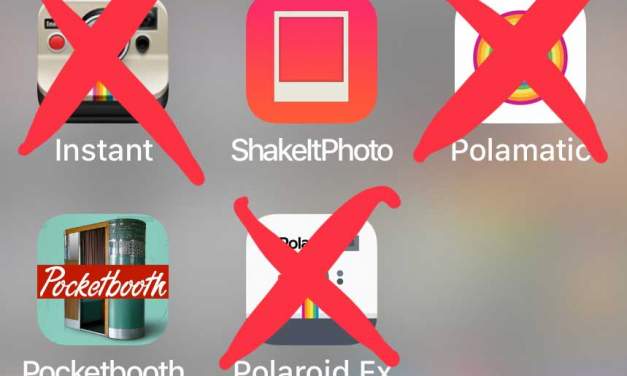
Polaroid apps have disappeared from the App Store
Over the past several months, almost all of the officially-licensed Polaroid photo apps have disappeared from the App Store. So, what happened?

Apple announces 2018 holiday App Store downtime
Why aren’t my iOS apps updating? Not to worry. It’s just the annual App Store holiday break.
- 1
- ...
- 2
- 3
- 4
- 5
- 6
- 7
- 8
- 9
- 10
- 11
- 12
- 13
- 14
- 15
- 16
- 17
- 18
- 19
- 20
- 21
- 22
- 23
- 24
- 25
- 26
- 27
- 28
- 29
- 30
- 31
- 32
- 33
- 34
- 35
- 36
- 37
- 38
- 39
- 40
- 41
- 42
- 43
- 44
- 45
- 46
- 47
- 48
- 49
- 50
- 51
- 52
- 53
- 54
- 55
- 56
- 57
- 58
- 59
- 60
- 61
- 62
- 63
- 64
- 65
- 66
- 67
- 68
- 69
- 70
- 71
- 72
- 73
- 74
- 75
- 76
- 77
- 78
- 79
- 80
- 81
- 82
- 83
- 84
- 85
- 86
- 87
- 88
- 89
- 90
- 91
- 92
- 93
- 94
- 95
- 96
- 97
- 98
- 99
- 100
- 101
- 102
- 103
- 104
- 105
- 106
- 107
- 108
- 109
- 110
- 111
- 112
- 113
- 114
- 115
- 116
- 117
- 118
- 119
- 120
- 121
- 122
- 123
- 124
- 125
- 126
- 127
- 128
- 129
- 130
- 131
- 132
- 133
- 134
- 135
- 136
- 137
- 138
- 139
- 140
- 141
- 142
- 143
- 144
- 145
- 146
- 147
- 148
- 149
- 150
- 151
- 152
- 153
- 154
- 155
- 156
- 157
- 158
- 159
- 160
- 161
- 162
- 163
- 164
- 165
- 166
- 167
- 168
- 169
- 170
- 171
- 172
- 173
- 174
- 175
- 176
- 177
- 178
- 179
- 180
- 181
- 182
- 183
- 184
- 185
- 186
- 187
- 188
- 189
- 190
- 191
- 192
- 193
- 194
- 195
- 196
- 197
- 198
- 199
- 200
- 201
- 202
- 203
- 204
- 205
- 206
- 207
- 208
- 209
- 210
- 211
- 212
- 213
- 214
- 215
- 216
- 217
- 218
- 219
- 220
- 221
- 222
- 223
- 224
- 225
- 226
- 227
- 228
- 229
- 230
- 231
- 232
- 233
- 234
- 235
- 236
- 237
- 238
- 239
- 240
- 241
- 242
- 243
- 244
- 245
- 246
- 247
- 248
- 249
- 250
- 251
- 252
- 253
- 254
- 255
- 256
- 257
- 258
- 259
- 260
- 261
- 262
- 263
- 264
- 265
- 266
- 267
- 268
- 269
- 270
- 271
- 272
- 273
- 274
- 275
- 276
- 277
- 278
- 279
- 280
- 281
- 282
- 283
- 284
- 285
- 286
- 287
- 288
- 289
- 290
- 291
- 292
- 293
- 294
- 295
- 296
- 297
- 298
- 299
- 300
- 301
- 302
- 303
- 304
- 305
- 306
- 307
- 308
- 309
- 310
- 311
- 312
- 313
- 314
- 315
- 316
- 317
- 318
- 319
- 320
- 321
- 322
- 323
- 324
- 325
- 326
- 327
- 328
- 329
- 330
- 331
- 332
- 333
- 334
- 335
- 336
- 337
- 338
- 339
- 340
- 341
- 342
- 343
- ...
- 344
How Tos

Scan and straighten photos with Dropbox
Do you have some old photos that you want to scan and digitize? The scan tool in Dropbox can also be used to quickly scan, digitize, crop and straighten, and upload and share old prints.
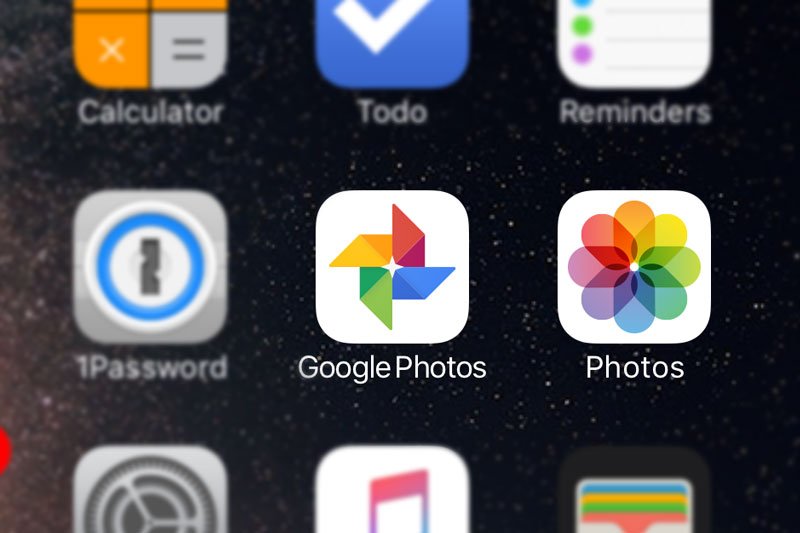
How to move your photos from Google Photos to Apple Photos
With the Google Photos apps for iOS, macOS, and Windows, it’s now easier to move your photo library to your new device if you’ve recently switched from Android to iPhone.

Get ready for a cold weekend with some snow photo tips from Adobe
Adobe is getting more and more interested in iPhone photography. There are Adobe apps for...
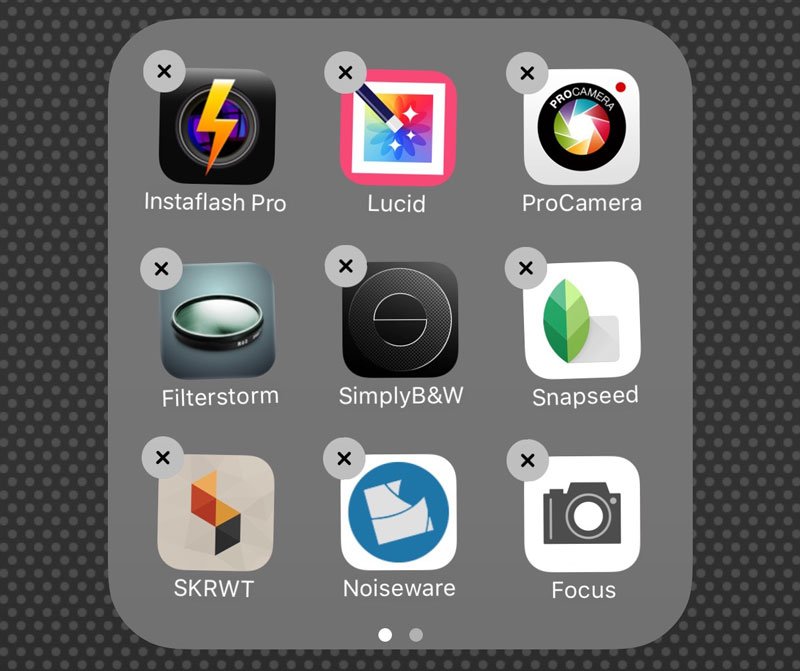
How to Reinstall Older Versions of Apps on your iPhone or iPad
There are times when you really need to downgrade to the previous version of an iOS app or even older. Are you out of luck until a bugfix is released? Maybe not.