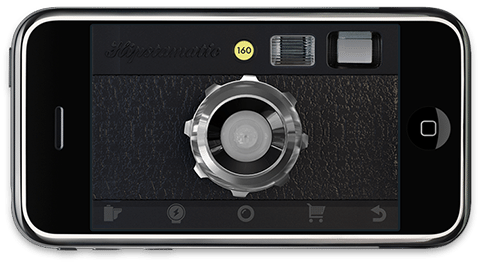
Here’s a very basic tutorial on tweaking Hipstamatic’s settings to get the most out of the app.
If you’re relatively new to iPhoneography or just new to Hipstamatic, or if the app’s settings have somehow reset on you, here’s a brief walk-thru of Hipstamatic 160’s settings. A few changes will help to make shooting with Hipstamatic better.
When you first install the app on your iPhone, it’s optimized for speed. Some of the default settings can be a little frustrating and some tweaks need to be made to the app in order to fix the preview in the viewfinder and get the app to output large prints suitable for printing.
Our very basic, step-by-step walk-thru is after the jump.
Open the Settings app on your home screen. It’s a gray icon with gears.
On this screen, are the settings panes for your iPhone and for many of your apps. Scroll down until you find Hipstamatic. Select it. You’ll see a screen that looks similar to the one above.
By default, Viewfinder Mode is set to Classic, Shake to Randomize is turned on, and High Quality Prints is turned off.
Select Viewfinder Mode and change it to Precision Framing. Back in the first version Hipstamatic Model 100, the app had a “wandering viewfinder” by design. It was very imprecise and the viewfinder showed only a random, small part of the image. It was created that way to help enhance the analog experience of the camera. Many iPhoneographers didn’t like this feature and a more precise viewfinder was added to the next update, Hipstamtic 110. Enough users liked the feature so the viewfinder was updated to be user selectable between the classic wandering finder and the new more accurate one.
Switch High Quality Prints to “on”. This will give you the largest possible photos that your iPhone can take — 1200x1200px on a 2G and 3G, 1530x1530px on a 3GS and 1936x1936px on an iPhone 4. Large files slow down developing time, but it’s always better to reduce the size of a large photo than to have to try and enlarge it later. You can leave this setting to off if all you will do with Hipstamatic is shoot snaps to share online on Facebook, Twitter or Flickr and nothing else. Ever.
Shake to Randomize randomly applies different lens, flash and film combinations when you shake your phone. Hipstamatic displays what combinations were used in its Recent Prints photo roll and this can be a good way to discover new film and lens combinations. I prefer to shoot with specific film and lens combinations so I leave this one off most of the time.
EXIF data is the info hidden in an image file that stores information such as camera info, exposure info and precise geotags of where the photo was taken. It’s used by Flickr and other photo sites and applications to help tag and locate images. Saving EXIF data may add a second or two to the developing time. If the speed bump is more important than the data, switch Add EXIF Data to “off”. I usually leave this setting on. Hipstamatic isn’t a fast camera in the first place and an extra second or so won’t make much difference.
There you go! You’re set! With your settings tweaked, you’re ready to shoot with one of the most popular camera apps in the App Store!
=M=
~~~~
We’ve got a lot more Hipstamatic news throughout Life In LoFi, including all the latest on updates and HipstaPaks. Check out all the news by clicking here.


